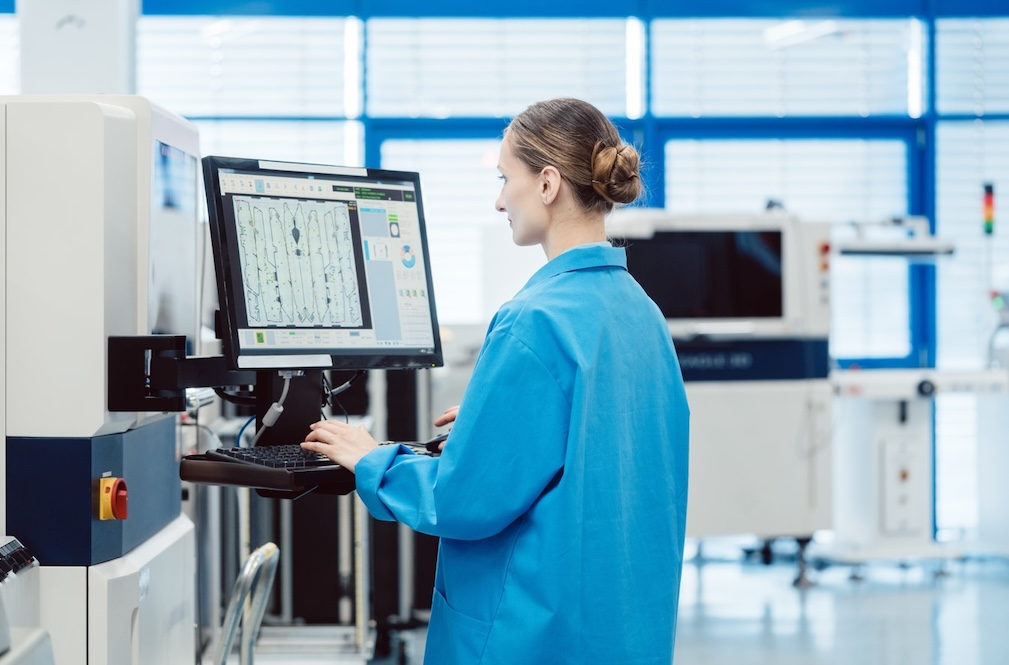
By introducing optical inspection systems, production lines have gained access to precision technology that ensures high accuracy and efficiency. The wave of digital transformation has brought innovative solutions where visual inspection is no longer performed by human eyes but by sophisticated camera systems and algorithms. With the evolution of AOI technology, manufacturing process quality has entered a new dimension, as it can detect defects in seconds that previously often remained unnoticed. With the advancement of precision technology, optical inspection systems have become an essential part of modern production lines, ensuring flawless product quality and optimisation of manufacturing processes.
What is an Automatic Optical Inspection System (AOI)?
An automatic optical inspection system is an advanced examination method that combines modern image processing and artificial intelligence during manufacturing processes. This technology performs quality control of products using precise cameras and intelligent software, significantly surpassing the capabilities of the human eye.
During system operation, special cameras and LED or laser-based illumination enable the detection of even the tiniest details. Advanced image processing algorithms analyse the captured images in real time and immediately signal any deviations from the established quality requirements. This measurement technology is widespread in the electronics industry, where the identification of soldering defects or incorrect component placement is crucial.
The advantages of automation compared to manual inspection
During traditional manual inspection, due to the fatigue of the human eye, several defects may remain unnoticed, whilst the optical inspection system operates with nearly 100% accuracy. One of the greatest advantages of automated systems is that they can work continuously, without interruption, with no need for rest periods or shift changes.
Data generated during machine inspection is immediately available in digital form, enabling the optimisation of manufacturing processes. With detailed reports created by the optical inspection system, management can monitor quality indicators in real time and make informed decisions. The system indicates defects and analyses their type and frequency, thus helping to identify causes and implement preventive measures.
Types of AOI systems
In the world of optical inspection systems, we distinguish between three main installation methods, each with unique advantages during manufacturing processes.
Inline AOI systems are built directly into the production line, examining each product in real time. This solution is particularly effective in high-volume production where speed is crucial. The system immediately signals defects, so problems can be quickly remedied before more products are manufactured with faulty parameters.
Online AOI offers a more flexible approach. Although it is located next to the production line, it doesn't inspect every product but works with sampling. This method is ideal for manufacturing processes where a comprehensive examination is not necessary, but maintaining continuous quality control is important.
Offline AOI systems function as separate inspection stations. In this case, there is an opportunity for a more thorough examination of products without time constraints. This solution is useful when testing complex components or prototypes where detail is more important than speed.
From a technological implementation perspective, there are two main approaches: 2D and 3D systems. 2D optical inspection systems work with planar imaging and are excellently suited for detecting surface defects and soldering problems. With their multi-angle camera systems, they provide a detailed image of the product surface being examined.
3D systems represent cutting-edge technology. Using laser scanners and structured illumination, they create a spatial model of the examined object. This enables the detection of complex geometric deviations and the identification of hidden defects that would not be visible in 2D.
Three-dimensional technology is particularly valuable in industries where the spatial characteristics of products are critical - for example, in the automotive industry or precision electronics manufacturing. Modern 3D optical inspection systems can now map the entire surface and structure of the examined components with tremendous accuracy.
The ProDSP AOI 3D system: Innovation in practice
Further proof of Hungarian engineering excellence is the optical inspection system developed by ProDSP, which stands out in the international field with its submillimetre-precision 3D scanning technology. The system's flexibility is impressive: users can choose between robot, inline, or manual feeding, making it perfectly adaptable to any manufacturing environment.
The advanced illumination technology combines coaxial and ring LED systems, providing unparalleled image quality even when examining the most complex surfaces. Following Industry 4.0 requirements, it can be seamlessly integrated into existing manufacturing environments via Ethernet-MES interface, whilst offering full IoT compatibility.
Noteworthy is the system's versatility: from detecting dead pixels on display screens to identifying complex manufacturing defects, it performs all tasks. The changeover time of less than one second during product changes raises manufacturing efficiency to a new level, which is a significant competitive advantage in modern manufacturing environments.
At ProDSP, we are committed to quality. Discover our products and services!


